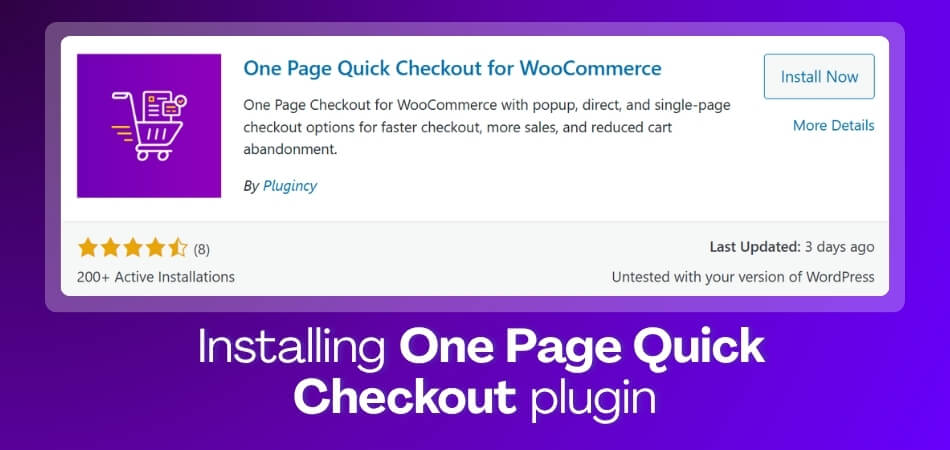
Installing the One Page Quick Checkout plugin helps WooCommerce store owners create a faster and simpler checkout experience without custom coding. Instead of sending shoppers through multiple steps, the plugin lets you reduce checkout friction and guide customers toward completing their orders more smoothly.
In this step-by-step guide to installing the One Page Quick Checkout plugin, you’ll learn how to activate, configure, and test the plugin in WooCommerce. We’ll also cover the basic settings to check after installation so you can make sure the quick checkout flow works properly.
Quick Tips for Installing One Page Quick Checkout Plugin
Installing the One Page Quick Checkout plugin works best when your WooCommerce store is ready, the plugin file is uploaded correctly, and the checkout flow is tested before real customers use it. Keep the setup simple and check each step from the dashboard.
- Go to Plugins > Add New
- Search for One Page Quick Checkout
- Click Install Now
- Activate the plugin
- Open the plugin settings
- Enable the quick checkout option
- Save your changes
What Is One Page Quick Checkout Plugin?
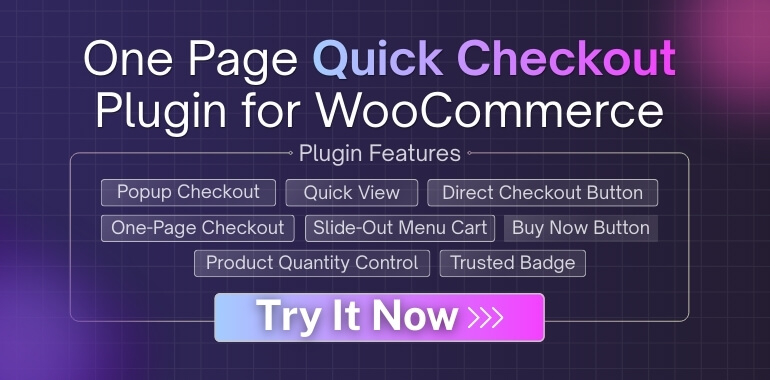
One Page Quick Checkout plugin is a WooCommerce checkout plugin that helps store owners create a faster buying flow from the product page, shop page, or other key store areas. Instead of making customers move through extra cart steps, it lets them start checkout more directly and complete purchases with less friction.
It can help store owners:
- Reduce extra cart-to-checkout steps
- Let shoppers start checkout faster
- Keep the buying process simple on mobile
- Support quick-buy flows for selected products
- Improve checkout access from product or shop pages
- Create a smoother path for single-product or campaign-based stores
Things to Check Before Installing One Page Quick Checkout Plugin
Before installing the WooCommerce One Page Checkout plugin, make sure your WooCommerce store is ready with the right WordPress, WooCommerce, product, payment, and shipping setup. Checking these basics first helps prevent installation errors and checkout issues later.
Review these requirements before starting the setup:
- Updated WordPress Version: Use a stable WordPress version so the plugin can install and run without basic compatibility problems.
- Active WooCommerce Plugin: WooCommerce must be installed and active because the quick checkout feature depends on WooCommerce checkout functions.
- Products Added: Add at least one product first so you can test whether the quick checkout flow works correctly.
- Payment Methods Ready: Set up payment gateways before testing so customers can complete orders without payment errors.
- Shipping Settings Configured: For physical products, make sure shipping zones and methods are ready before enabling checkout.
- WooCommerce-Compatible Theme: Use a theme that supports WooCommerce pages to avoid layout or checkout display issues.
- Admin Access Available: Log in with an admin account because plugin installation requires permission to add and activate plugins.
- Cache Cleared After Setup: Clear your site and browser cache after activation to see the latest checkout changes.
Step-by-Step Guide to Installing One Page Quick Checkout plugin
If your WooCommerce checkout feels slow and messy, a one page checkout plugin can help a lot. In this section, you will learn exactly how to install and set up One Page Quick Checkout for WooCommerce so your customers can review their cart and pay on one simple page.
Method 1: Install One Page Quick Checkout from the WordPress plugin directory
This is the easiest and most common method.
Step 1: Log in to Your WordPress Dashboard
- Go to yourstore.com/wp-admin.
- Enter your username and password.
- Click Log In.
Step 2: Find the One Page Quick Checkout Plugin
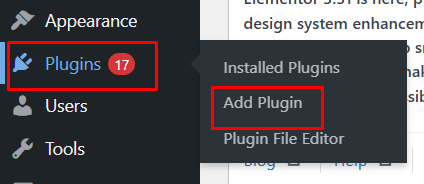
- In the left menu, click Plugins → Add Plugin.

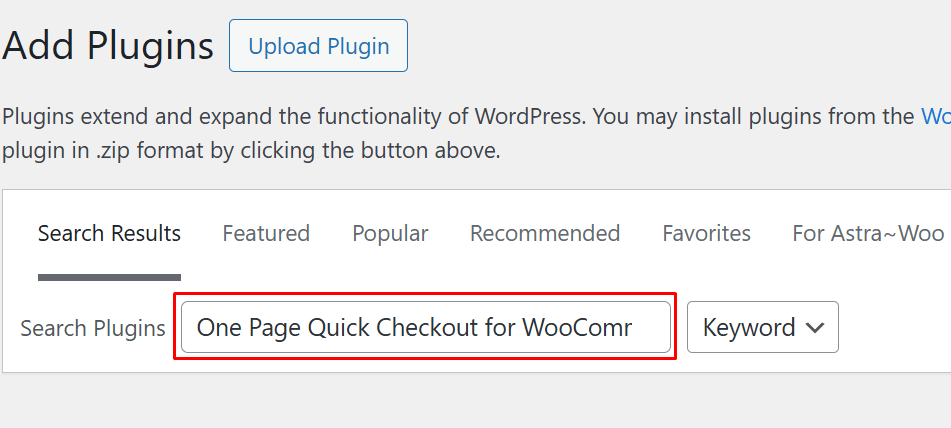
- In the search bar on the right, type: One Page Quick Checkout for WooCommerce

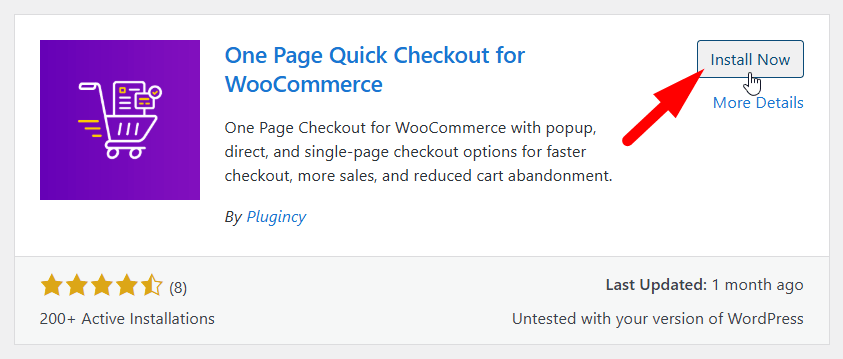
- Look for the plugin by Plugincy with text like “One Page Checkout for WooCommerce with popup, direct, and single-page checkout options.”
Step 3: Install and activate the plugin
- Click Install Now next to the plugin name.

- Wait until the button changes to Activate.
- Click Activate.
That is it. The free version of One Page Quick Checkout for WooCommerce is now installed and active. You should now see a new menu or settings section for the plugin inside your dashboard.
Method 2: Upload the One Page Quick Checkout plugin ZIP
Sometimes you may download the plugin ZIP file from a trusted source first. In that case, use this method.
When to Use the Zip Upload Method
- You got a ZIP file from the developer site.
- You are installing a Pro version that is not in the free WordPress plugin directory.
Step-by-step ZIP upload
- Log in to your WordPress dashboard.
- Go to Plugins → Add Plugin.
- Click the Upload Plugin button at the top.
- Click Choose file, then select the zip file from your computer.

- Click Install Now.
- After the upload finishes, click Activate Plugin.
- From the dashboard menu, go to Onpage Checkout > Plugin License
- Enter your license key to unlock the PRO features


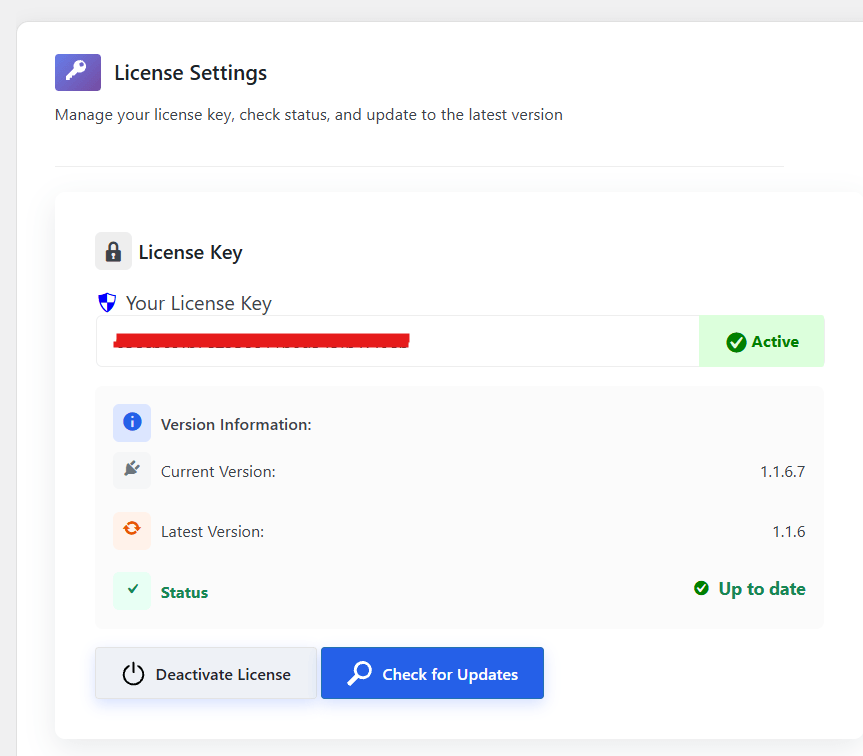
Now you can enjoy all the advanced options that come with the PRO version.
Method 3: Install One Page Quick Checkout via FTP (advanced)
This method is useful if:
- The WordPress dashboard installer fails.
- Your host has file upload limits.
Step-by-step FTP install
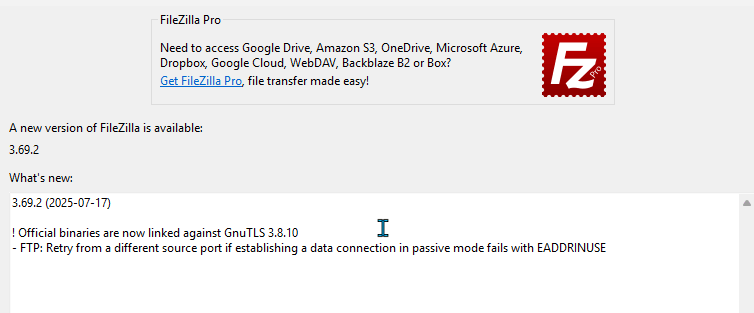
- Download the plugin ZIP from the official site and unzip it on your computer.
- Open your FTP client and connect to your website.

- Go to the folder: wp-content/plugins/
- Upload the unzipped plugin folder (for example, one-page-quick-checkout-for-woocommerce) into this directory.
- After upload, log in to your WordPress dashboard.
- Go to Plugins → Installed Plugins.
- Find One Page Quick Checkout for WooCommerce and click Activate.
That is all. The plugin is now active, just like with the other methods.
Once installed, the One Page Quick Checkout plugin will make the checkout experience on your WooCommerce store much smoother and faster. Choose the method that works best for you and get started easily.
Common Installation Problems and How to Fix Them
Sometimes things don’t work the way we expect, but most issues with the One Page Quick Checkout plugin are easy to fix. Here are some common problems and what you can do to solve them.
Checkout page looks broken
If your checkout page is not loading correctly or the layout looks messy, here are a few steps to try:
- Clear the Cache From Your Caching Plugin and Browser: Cached files can show old versions of your site. Cleaning the cache makes your page refresh with the latest design and scripts.
- Switch to a Default Theme Like Storefront for Testing: Some themes may not work well with checkout plugins. Switching to a default theme helps you see if your theme is causing the issue. If the page works fine with the default theme, then your theme is the source of the conflict.
2. Buttons Not Working or Fields Not Saving
If buttons do nothing or customer details are not being saved, it may be due to plugin conflicts. Try these steps:
- Temporarily Disable Other Checkout or Cart Plugins: When two plugins try to control the same checkout area, they can block each other.
- Reactivate Them One By One: This helps you find out which plugin is causing the problem. Once you know the plugin that creates the conflict, you can replace it or ask the developer for help.
3. Plugin Not Showing in Search Results
If you cannot find the plugin inside the WordPress Plugin Directory search bar, follow these steps:
- Check Your WordPress Version and Update If Needed: Older versions of WordPress may not show newer plugins.
- Make Sure Woocommerce Is Active: The plugin works only with WooCommerce. If WooCommerce is disabled, the search system might not show related plugins.
4. Mobile Checkout Looks Strange
If the checkout page looks fine on desktop but broken on mobile, here are a couple of fixes:
- Check Your Theme’s Responsive Settings: Some themes may not adjust the layout correctly on smaller screens. Make sure the theme is updated and supports responsive design.
- Disable Extra Css From Other Plugins: Some plugins add custom styling that can change how the checkout area looks. Turning them off (one at a time) helps you find out which plugin is affecting the design.
What to Do After Installing and Activating the One Page Quick Checkout Plugin?
Once you have the One Page Quick Checkout plugin installed and activated, the next steps help you turn it on and set it up the way you like. The plugin already comes with the main feature enabled, but you can still adjust several options to match your store’s needs. Here is a simple guide to help you get everything ready.
Step 1: Make Sure One Page Checkout Is Enabled
The plugin usually turns this feature on by default. If it is turned off, you can enable it in a few quick steps:
- Go to Onpage Checkout in your WordPress dashboard
- Click on One Page Checkout
- Toggle the Enable One Page Checkout setting to On
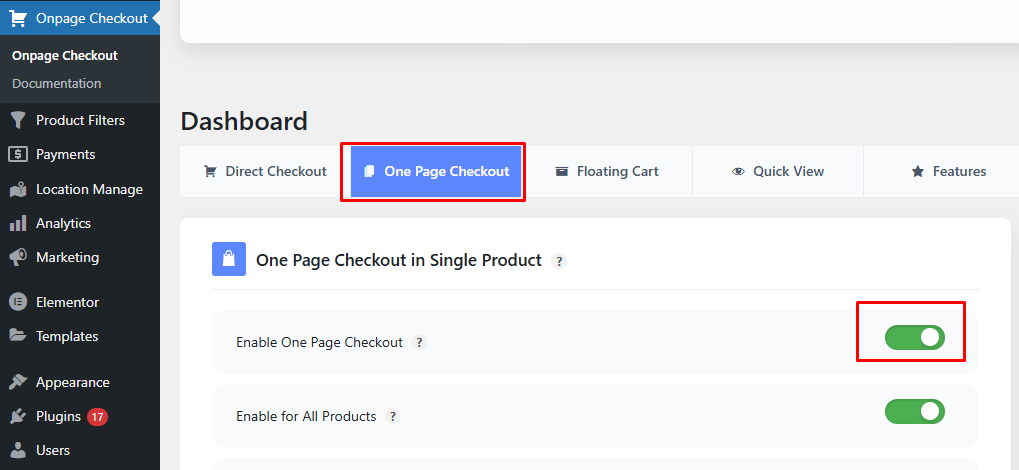
This activates the main feature so your customers can check out faster.
Step 2: Enable One Page Checkout for Individual Products
If you want to create a single-product one-page checkout setup, you can enable the checkout option directly from the product settings. This allows you to control which products use the one-page checkout feature instead of applying it to the entire store. To do this:
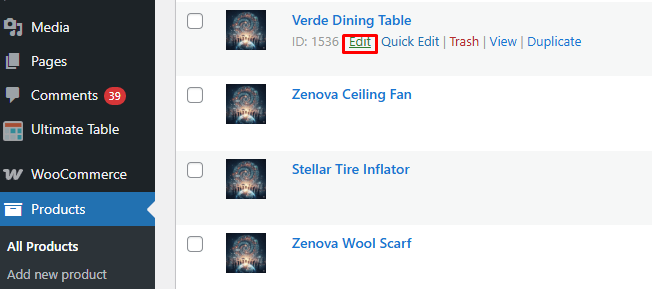
- Go to the Products section in your WordPress dashboard.
- Select the product you want to edit.

- In the product edit page, find the One Page Checkout settings.
- Turn on the One Page Checkout option.

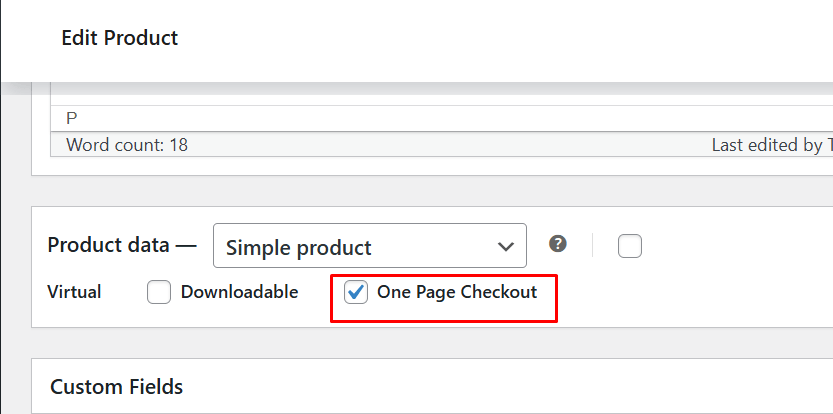
This is helpful if you want a custom checkout experience for selected items.
Step 3: Enable One Page Checkout for All Products
If you want every product in your store to use the one page checkout system, you can enable it for all items at once.
- Go to Onpage Checkout in your dashboard
- Click One Page Checkout
- Toggle the Enable for All Products option to On

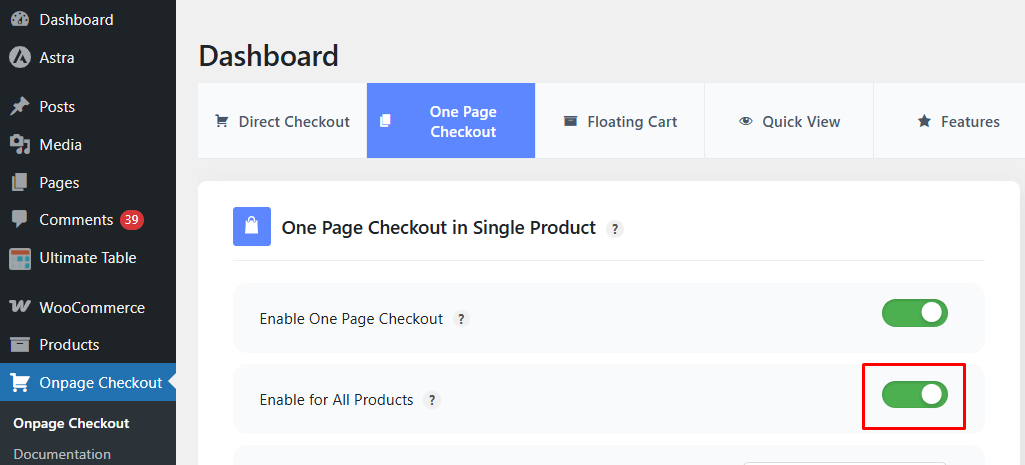
This applies the feature across your entire store, making checkout easier for everyone.
Step 4: Explore Additional Settings
The plugin also gives you extra controls to adjust how the checkout page looks and works. These options help you create a smooth and clear buying experience.
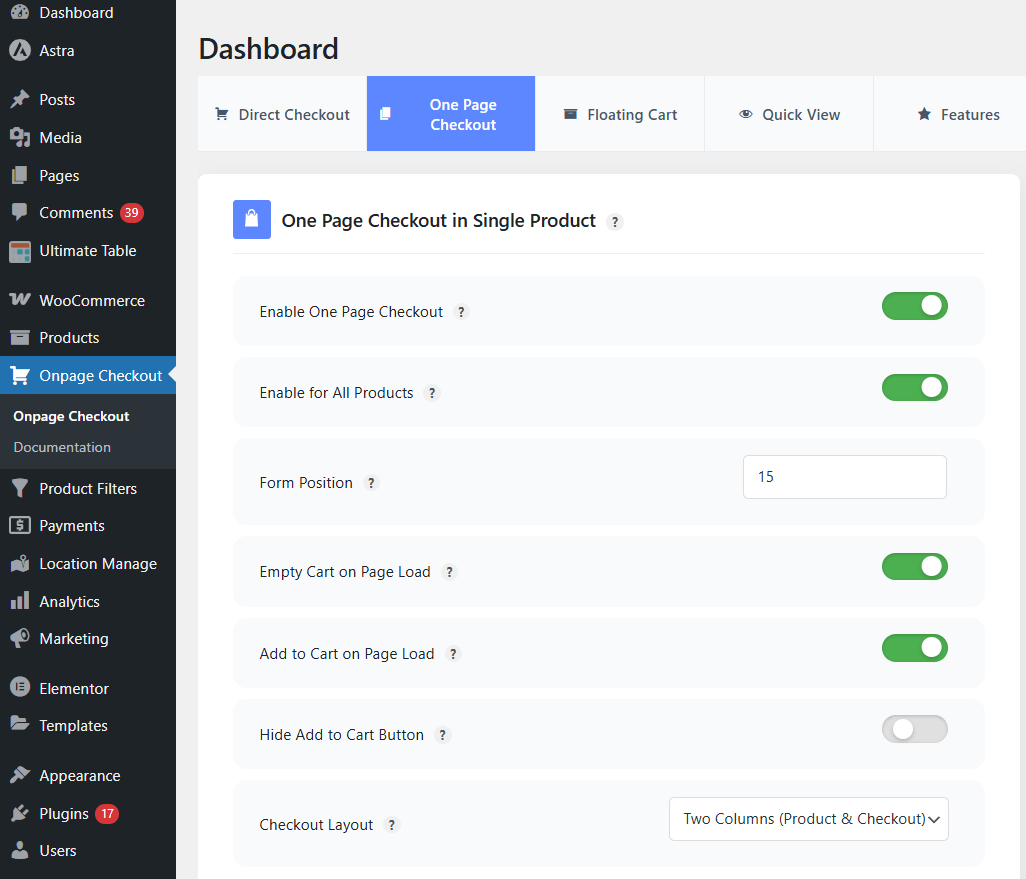
Here are the main settings you can customize:
- Form Position: Choose where the checkout form appears on the page. Pick the spot that fits best with your product layout.
- Empty Cart On Page Load: Decide if you want the cart to clear every time the page loads. This can be useful during special offers or one-time purchase pages.
- Add to Cart On Page Load: Set whether a product should be added to the cart automatically when the page loads.
- Hide Add to Cart Button: Turn off the Add to Cart button if you want customers to go straight to checkout without distractions.
- Checkout Layout: Select a layout style that matches your site’s design and gives users a clean viewing experience.
To adjust these settings:
- Go to Onpage Checkout
- Click One Page Checkout
- Change the options as needed

After completing these steps, your One Page Quick Checkout setup will be ready, and your store will offer a simple and fast checkout experience. This helps customers complete their orders more quickly and reduces cart drop-offs.
How to Test If the One Page Quick Checkout Plugin Is Working Properly?
The plugin needs a quick test before you use it live. This helps you see if the checkout page loads the right way. It also helps you spot small problems early on. Read the steps below to learn how to test the plugin.
Check The Product Page
You can start by opening any product page to see if the checkout form shows up. Make sure the form loads without any slow parts or blank areas. Try clicking simple buttons to see if they work. This step helps you know if the setup is active.
Test The Add To Cart Action
Adding a product to the cart helps you see the basic steps. Make sure the cart updates right away after you click the button. Watch the page and check if it refreshes the right way. This simple test helps you know if the plugin runs well.
Try A Complete Test Order
Placing a test order lets you see the full flow. Fill all fields with sample data and move to the next part. Make sure the page does not freeze during form steps. When the order goes through, you know the plugin is working.
Check Mobile View
Opening the checkout page on a phone helps you see layout issues. Make sure the form fits the small screen without pushing text around. Buttons should stay easy to tap without scrolling too much. This step helps you spot design problems fast.
Look For Plugin Conflicts
Turning off other checkout tools lets you test for conflicts. Some tools try to control the same area, which can cause errors. Turn each tool back on one by one to find the trouble. This helps you fix issues before the site goes live.
Review The Settings Page
Checking the plugin settings helps you confirm all steps are correct. You can also make small changes for optimizing WooCommerce checkout for fashion stores and similar businesses. Try toggling one option at a time to see what fits. This helps make the checkout smooth and styled just right.
Frequently Asked Questions
The questions below help you understand this plugin in a simple way. Each answer gives clear steps you can follow with ease. You can check these points when you set up the tool. Read the full list to learn what matters most.
Is One Page Quick Checkout For WooCommerce Free?
Yes, there is a free version of One Page Quick Checkout for WooCommerce on WordPress.org. You can install it with a few clicks from your dashboard. The plugin also has a Pro version with more tools. You can pick the one that fits your store.
Do I Need Coding Skills To Install It?
No, you do not need any coding knowledge. You can install it from the WordPress dashboard like any other plugin. The setup steps are simple and fast. Most settings are easy to change from the menu.
Will It Work With My Current Theme?
It works with most new WooCommerce themes. If the page layout looks odd, try switching to a default theme for a quick test. After that, you can switch back. If you still see problems, you can ask support for help.
What Happens If I Update The Plugin?
Updates usually add fixes and new tools. Your settings stay safe after the update. You only need to click update inside the dashboard. It is a good idea to keep backups before big updates.
Where Can I See If The Plugin Is Active?
You can check inside the Plugins page in WordPress. If the plugin shows an Active label, it is turned on. You can also open any product page to see if the checkout form loads. Both steps help you confirm status fast.
Can I Use It For A Single Product Store?
Yes, you can turn on one page checkout for one product. This is great for small stores that sell one main product. It also works well for digital goods and simple offers. You can enable it inside the product edit page.
Does It Help With Mobile Checkout?
Users say the checkout feels faster on mobile with One Page Quick Checkout. The page loads all steps in one place, so people do not move between pages. This helps reduce drop-offs. It also makes buying easier on small screens.
Conclusion
A checkout page can make or break your store, so making it smooth is always worth the effort. With the help of this step-by-step guide to installing one page quick checkout plugin, you can set things up without stress and give shoppers a faster way to buy.
Small changes can lead to better sales and happier customers. Take a moment to fine tune your checkout settings and watch your store feel easier to use.