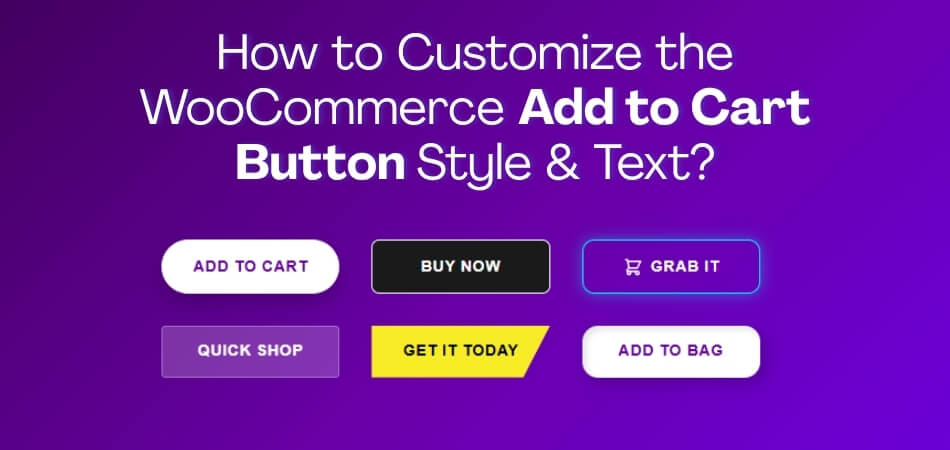
You can customize the WooCommerce Add to Cart button by changing its text, color, size, shape, and hover style to match your store design and improve click visibility. WooCommerce supports button customization through theme settings, CSS, plugins, and code-based text filters, depending on how much control you need.
In this guide, we’ll show how to customize the WooCommerce add to cart button style and Text, along with the key checks, common issues, and best methods for different store setups. Keep reading to learn in simple steps.
Quick Tips Before Customizing the WooCommerce Add to Cart Button
Customizing the WooCommerce Add to Cart button works best when the text stays clear, the style remains easy to notice, and the button still fits naturally into the product layout. These quick tips can help you improve visibility, usability, and consistency before making deeper button changes.
- Keep The Button Easy To Notice
- Use Clear Action-Focused Text
- Match The Style To Your Store
- Avoid Overdesigning The CTA
- Check Mobile Tap Comfort
- Review Product Type Behavior
- Test Changes Across Page Types
- Keep The Buying Flow Consistent
What Can You Customize on a WooCommerce Add to Cart Button?
WooCommerce Add to Cart button customization usually covers both wording and visual design, depending on how you want the button to look and guide clicks. In a WooCommerce one-page checkout setup, common changes usually focus on the label, colors, size, spacing, hover effects, and how the button appears across different page types.
- Button Text: Change the wording shown on the button.
- Background Color: Adjust the main button color.
- Text Color: Control how the label appears visually.
- Button Size: Change width, height, or padding.
- Border Radius: Make the button sharper or more rounded.
- Hover Style: Customize how the button looks on hover.
- Font Size and Weight: Improve emphasis and readability.
- Page-Specific Display: Show different styles or text on different WooCommerce pages.
What to Check Before Changing Add to Cart Button Text or Style
Add to Cart button changes work better when the page layout, product type, and store setup are reviewed first. Checking these basics early can help you avoid design inconsistencies, text mismatches, and button behavior issues across different WooCommerce pages.
- Current Theme Styling: Review whether your theme already controls button colors, spacing, or hover effects.
- Product Type Behavior: Check how simple, variable, grouped, or external products handle button text and actions.
- Page Type Differences: Compare button appearance and behavior on shop, category, and single product pages.
- Mobile Tap Usability: Make sure the button stays easy to tap and read on smaller screens.
- Text Clarity And Intent: Confirm the button wording matches the action shoppers are expected to take.
- Plugin Or Theme Overrides: Check whether plugins or template overrides already affect button output or styling.
- Block Or Classic Setup: Identify whether your store uses classic templates or block-based layouts before applying changes.
- Testing Before Publish: Plan to review the updated button across devices and key page types before making changes live.
How to Customize the WooCommerce Add to Cart Button Style and Text?
This section explains all technical methods in a clean, ready-to-paste format. Each method is practical, scoped correctly, and aligned with real WooCommerce behavior. One method also shows how button customization works best when paired with One Page Checkout for WooCommerce, where button text and checkout flow must stay consistent to reduce friction.
Method 1: Customize Add to Cart Button Style Using the Theme Customizer (No Code)
Some WooCommerce themes provide built-in controls for button styling through the WordPress Customizer. This is the simplest option and does not require touching code.
Step-by-step
- Go to Appearance → Customize
- Open WooCommerce, Buttons, or Colors (section name depends on the theme)
- Update background color, text color, hover state, and border radius
- Publish changes and test on:
- Shop page
- Category page
- Single product page
This method is safe during updates but limited to what the theme allows.
Best for: Store owners who want quick visual changes without writing CSS or editing theme files.
Method 2: Style the Add to Cart Button With CSS (Most Precise Method)
CSS offers full control and works reliably across themes when selectors are scoped correctly by page type.
Step-by-step
- Open a product page and inspect the Add to Cart button
- Identify selectors:
- .single_add_to_cart_button for single product pages
- .add_to_cart_button for shop and category pages
- Go to Appearance → Customize → Additional CSS
- Add scoped CSS rules:
/* Single product page */
.single-product .single_add_to_cart_button {
padding: 14px 18px;
border-radius: 10px;
font-weight: 600;
}
/* Shop and category pages */
.woocommerce ul.products li.product .add_to_cart_button {
padding: 12px 14px;
border-radius: 10px;
}
Separating rules by page type keeps layouts consistent and avoids unwanted global changes.
Best for: Stores that need precise control over spacing, sizing, and appearance across different WooCommerce pages.
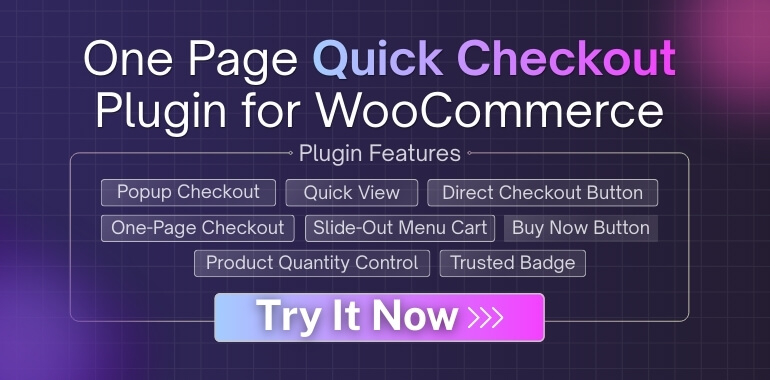
Method 3: With One Page Quick Checkout for WooCommerce
When using One Page Checkout for Woocommerce, the Add to Cart button should clearly represent the next step in the buying process. Since cart and checkout are merged into a single flow, button text, placement, and behavior must guide users forward without confusion.
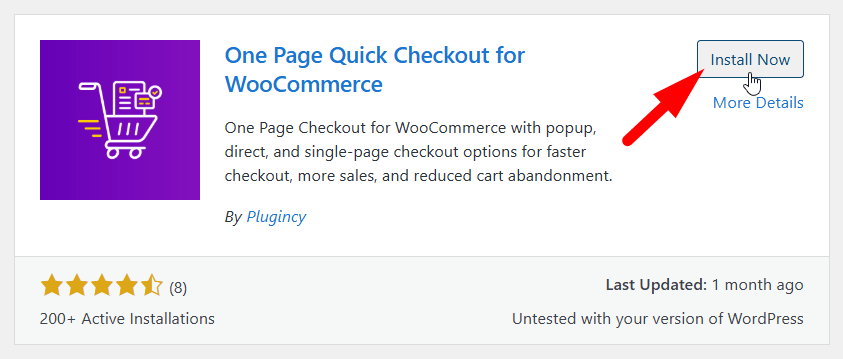
Free Version Installation
- Log in to your WordPress Admin Dashboard
- Go to Plugins > Add New
- Search for One Page Quick Checkout for WooCommerce
- Click Install Now
- Click Activate after installation finishes
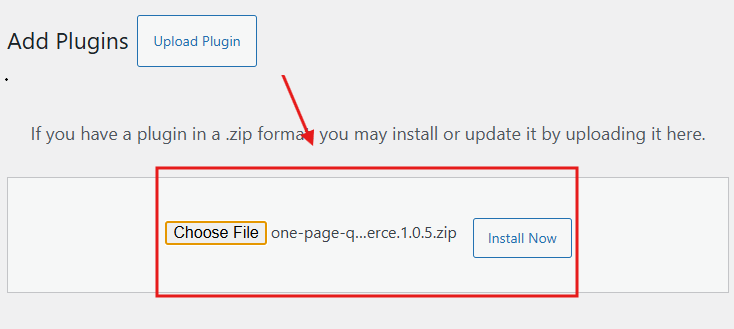
PRO Version Installation
- Visit the official website and complete your purchase
- Check your email and download the provided ZIP file
- Log in to your WordPress Admin Dashboard
- Go to Plugins > Add New
- Click Upload Plugin
- Select the downloaded ZIP file
- Click Install Now
- Click Activate once installation completes
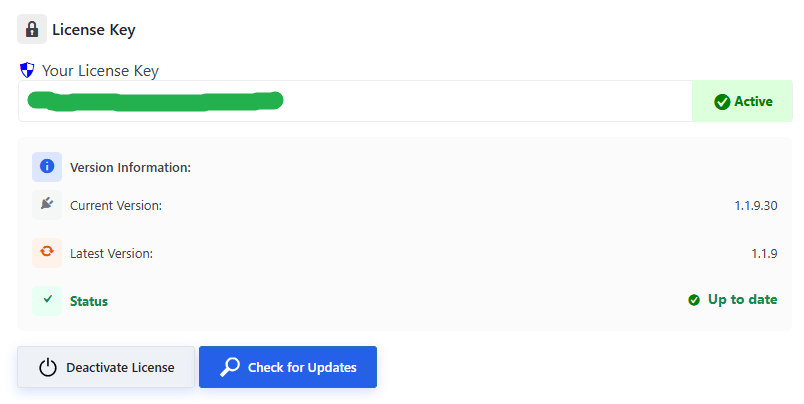
Activate PRO License
- Go to Onpage Checkout > Plugin License in your dashboard
- Enter your license key to unlock PRO features
Configure Add to Cart Button Text and Style
Once the plugin is installed and activated, you can customize how the Add to Cart button behaves and looks.
Customize Button Text
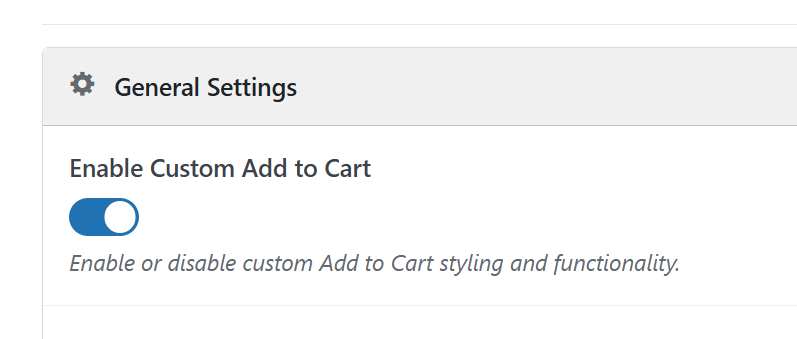
- Go to Dashboard > Onpage Checkout
- Open the Add to Cart tab
- In the general settings, enable Custom Add to Cart
After enabling it, you can configure:
- Button Text for simple products
- Variable Product Button Text for variable products
- Read More Button Text for products without direct add-to-cart
- Grouped Product Button Text for grouped products
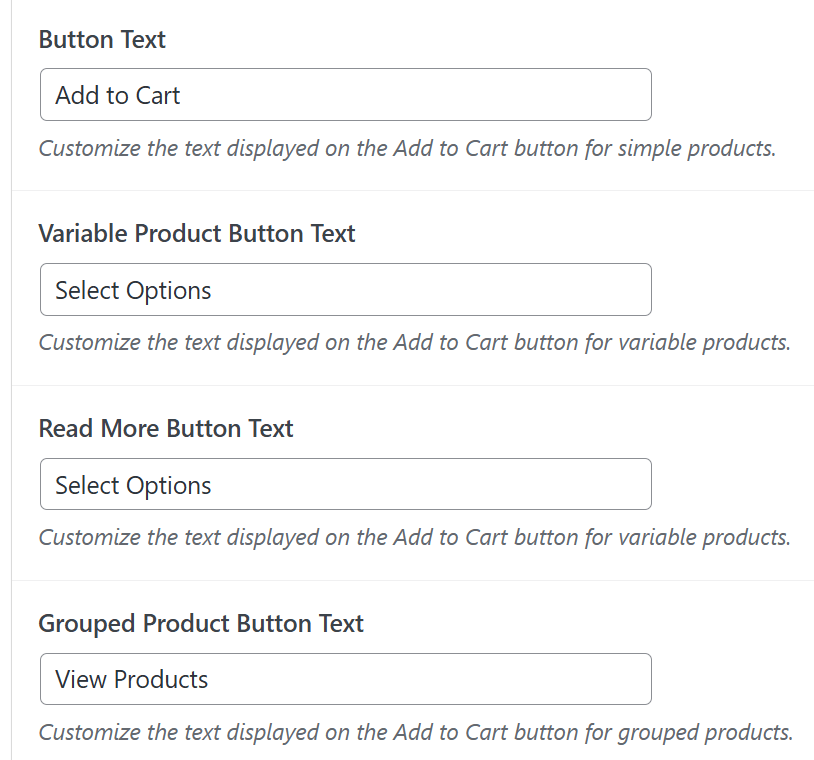
Each field can be edited independently to match product intent.
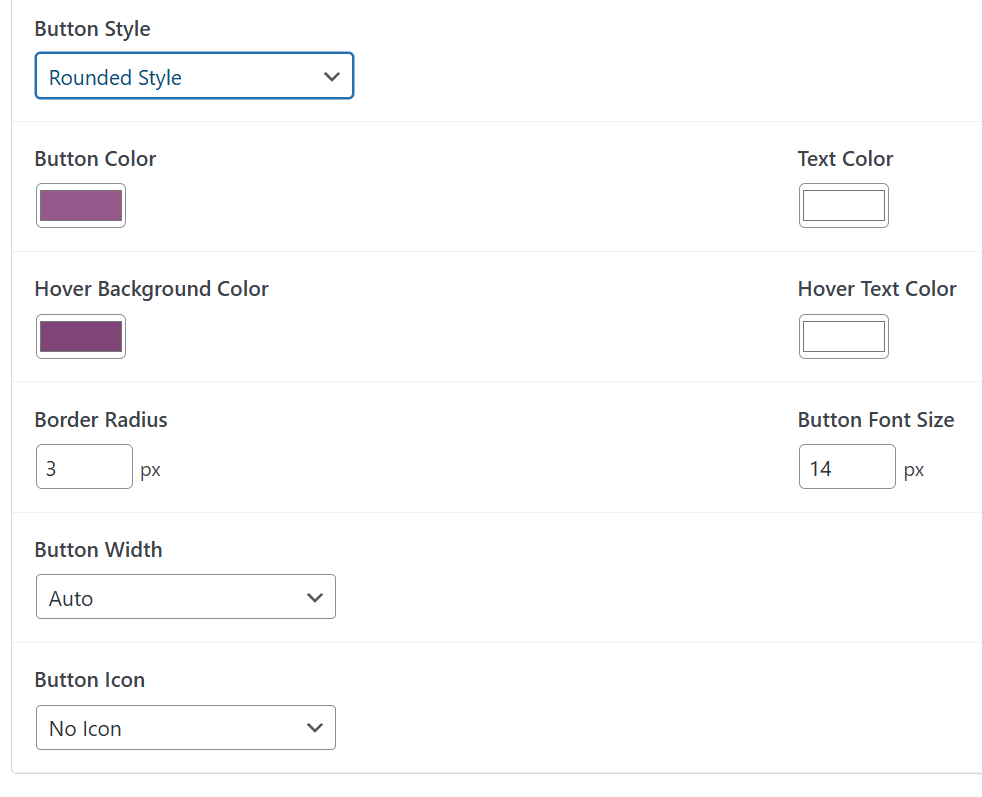
Customize Button Style
- Scroll to the Button Style section
- Open the style dropdown (default is WooCommerce style)
- Choose from:
- Modern Style
- Rounded Style
- Minimal Style
- Custom Style
Each option applies a different visual layout.

Customize Design Options
After selecting a style, additional design settings become available:
- Button Color to control background color
- Text Color for button text
- Hover Background Color
- Hover Text Color
- Border Radius for rounded corners
- Button Font Size in pixels
- Button Width with Auto, Full Width, or Custom Width options
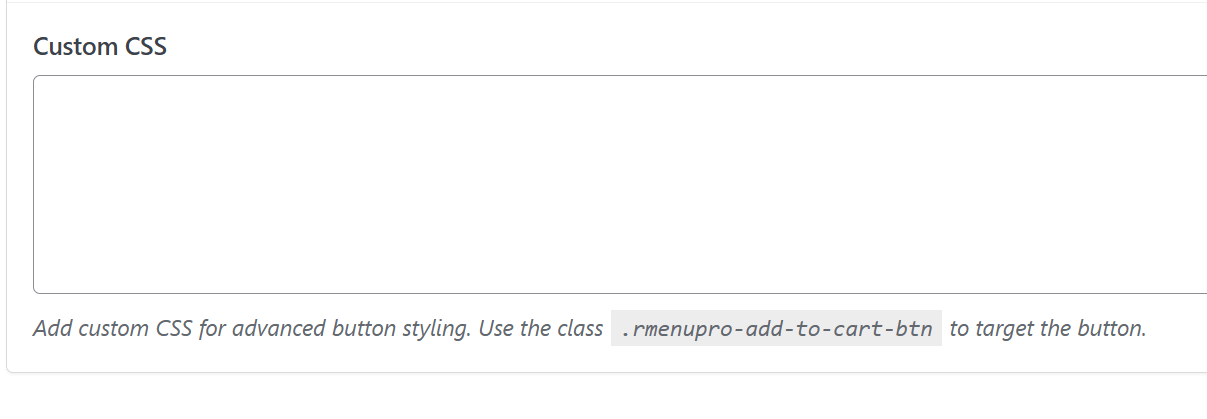
Custom CSS for Advanced Styling
- If Custom Style is selected, a CSS input field appears
- Add your own CSS rules for advanced design control
Once all text and style settings are configured, click Save Changes to apply them
Best for: Stores that want the Add to Cart button to directly transition users into checkout with minimal steps, especially when optimizing for faster purchases and mobile users.
Method 4: Change Add to Cart Button Text Globally Using PHP Filters
WooCommerce provides dedicated filters for button text. This is the correct and update-safe way to change wording site-wide.
Step-by-step
- Install the Code Snippets plugin or use a child theme
- Add the following code:
add_filter( ‘woocommerce_product_add_to_cart_text’, function() {
return ‘Add to Basket’;
});
add_filter( ‘woocommerce_product_single_add_to_cart_text’, function() {
return ‘Add to Basket’;
});
This updates the button text on both shop listings and single product pages.
Best for: Stores that want consistent button wording across the entire catalog.
Method 5: Change Add to Cart Text by Page Type
Some stores need different wording on shop pages versus category or product pages.
Step-by-step
add_filter( ‘woocommerce_product_add_to_cart_text’, function( $text ) {
if ( is_shop() ) {
return ‘Add to Cart’;
}
if ( is_product_category() ) {
return ‘View Product’;
}
return $text;
}, 10 );
This uses the same WooCommerce filter but applies logic based on page context.
Best for: Stores that want softer CTAs on category pages and stronger intent on shop pages.
Method 6: Change Add to Cart Text by Product Type
Variable products display “Select options” by design because users must choose variations first.
Why this matters
Forcing “Add to Cart” on variable products can confuse users and lower conversions.
Step-by-step
add_filter( ‘woocommerce_product_add_to_cart_text’, function( $text, $product ) {
if ( $product->is_type( ‘variable’ ) ) {
return ‘Choose Options’;
}
if ( $product->is_type( ‘external’ ) ) {
return ‘View Deal’;
}
return ‘Add to Cart’;
}, 10, 2 );
This keeps UX clear while improving button clarity.
Best for: Stores selling variable, grouped, or external products alongside simple products.
Method 7: Change Add to Cart Text for a Specific Category or Product
This is useful for services, bookings, or limited offers that need custom wording.
By category
add_filter( ‘woocommerce_product_add_to_cart_text’, function( $text, $product ) {
if ( has_term( ‘services’, ‘product_cat’, $product->get_id() ) ) {
return ‘Book Now’;
}
return $text;
}, 10, 2 );
By product ID
add_filter( ‘woocommerce_product_single_add_to_cart_text’, function( $text ) {
global $product;
if ( $product && $product->get_id() === 1234 ) {
return ‘Buy This Item’;
}
return $text;
});
Best for: Stores offering mixed product types like services, digital items, or special campaigns.
Troubleshooting: Why Add to Cart Changes May Not Work?
Add to Cart button changes usually fail because WooCommerce handles button text, styling, and rendering differently across page types. In many cases, the real cause is not the code itself but cached content, missing filters, theme overrides, or CSS rules that never reach the final button output.
Add to Cart Text Not Changing
This problem often happens when the text change is applied to only one WooCommerce filter, while other pages use a different button output path. Theme overrides and cached cart fragments can also keep showing the old button label even after the code is added.
Fix
- Apply both archive and single product text filters where needed
- Clear browser, plugin, server, and CDN cache after updating the text
- Check whether the active theme overrides WooCommerce button templates
- Retest the button on shop, category, and single product pages
CSS Not Applying to the Add to Cart Button
Button styling often fails because the selector is too weak, the wrong class is targeted, or another theme rule overrides the custom CSS. On block-based layouts, global button styles may also take priority over added CSS rules.
Fix
- Inspect the button and confirm the correct selector for that page type
- Increase selector specificity if theme styles keep overriding your CSS
- Clear all cache layers after saving new CSS rules
- Check block editor or global style settings if your store uses a block theme
Button Works on Shop Page but Not on Product Page
WooCommerce does not render Add to Cart buttons the same way on shop pages and single product pages. A change that works in product loops may not affect the product page unless the matching filter, class, or template path is also updated.
Fix
- Use the correct filter for shop loops and the correct filter for single product pages
- Test button text and style separately on archive and product layouts
- Review page-specific classes before applying shared CSS rules
- Confirm that the product page is not using a custom theme template
Changes Revert After Refresh or Still Show the Old Version
Sometimes the update appears briefly and then disappears because a cache layer, optimization plugin, or AJAX fragment reload restores older output. This can make it look like the customization failed even when the code is correct.
Fix
- Purge page cache, object cache, CDN cache, and browser cache
- Disable optimization features temporarily and test again
- Check whether AJAX cart fragments reload the original button state
- Save the change again and verify the live page in a private browser window
Button Style Looks Different Across WooCommerce Pages
Button styling may look consistent in one place and broken in another because shop pages, category pages, and single product pages often use different wrappers, classes, or layout rules. Global CSS can miss those differences and create uneven results.
Fix
- Compare the button markup on each page type before styling globally
- Write separate CSS rules for shop, category, and single product pages if needed
- Test spacing, alignment, and button size across all key layouts
- Check whether plugin or theme styles apply differently by template
Block Theme Styling Does Not Match Classic Theme Styling
Classic WooCommerce templates and block-based layouts do not always respond to the same styling method. A rule that works in a classic theme may not apply properly when the button is controlled by block styles or global theme settings.
Fix
- Confirm whether the store uses a classic theme or a block theme
- Check site editor styles if the button is controlled by global block settings
- Use page-specific selectors that match the block-based button structure
- Test changes in both the frontend and the site editor where relevant
Improve Mobile UX With a Sticky Add to Cart Button
Mobile product pages are longer and harder to navigate, which often pushes the Add to Cart button out of reach and slows down purchase decisions.
- Mobile shoppers frequently scroll far beyond the product summary, making the original Add to Cart button difficult to reach and breaking purchase momentum.
- A sticky add to cart button on WooCommerce mobile keeps the call to action visible, improves tap accessibility, and reduces friction on long product pages.
- The sticky button should appear only after users scroll past the main product section, keeping the interface clean while offering timely purchase access.
- It must avoid covering chat widgets, cookie notices, or navigation bars so important site interactions remain accessible at all times.
- Full support for variable products is essential, allowing option selection and correct price updates before items are added to the cart.
When implemented correctly, sticky Add to Cart buttons improve mobile usability without disrupting layout or functionality, helping users complete purchases more smoothly.
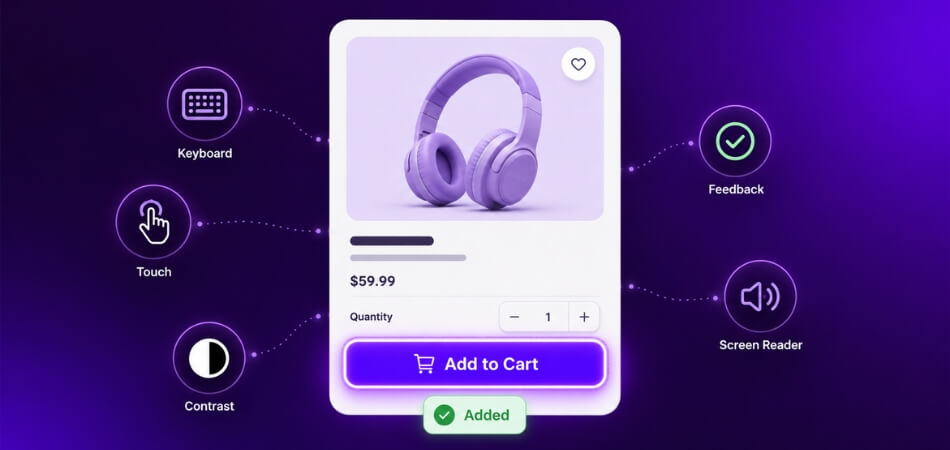
Accessibility and UX Best Practices for Add to Cart Buttons
Accessibility and user experience are often overlooked during button customization, yet they directly affect usability, trust, and conversions. Applying these best practices ensures smoother interactions and prepares your store for the next optimization stage.
Ensure Strong Color Contrast
The Add to Cart button must stand out clearly from the background to remain visible for all users. Poor contrast can make the button hard to notice, especially for visually impaired users. Using clear color separation improves readability, reduces hesitation, and helps users identify the primary action quickly.
Make Buttons Large Enough for Mobile Taps
Mobile users rely on touch input, so buttons must be large enough to tap comfortably. Small or tightly spaced buttons increase misclicks and frustration. Adequate padding and height improve accuracy, reduce accidental taps, and support smoother navigation on smaller screens.
Use Clear and Action-Oriented Button Text
Button text should clearly describe the action users are about to take. Labels like Add to Cart or Choose Options reduce uncertainty and align with buyer expectations. Clear wording becomes even more effective when paired with customizing fields on a WooCommerce one-page checkout, as users see the next step immediately.
Avoid Misleading Text on Variable Products
Variable products require option selection before adding items to the cart. Using misleading text like Add to Cart can confuse users and cause errors. Accurate labels, such as Choose Options, guide users correctly and prevent frustration during product selection.
Accessible and user-friendly Add to Cart buttons improve clarity, reduce errors, and support inclusive design, helping more users complete purchases with confidence across all devices.
SEO and Conversion Impact of Add to Cart Customization
Add to Cart customization affects more than design. It influences how users interact with products, how search engines interpret intent, and how smoothly buyers move toward checkout. Review these impacts before exploring final optimization steps.
- Clear and action-focused button text improves intent matching, helping users understand the next step instantly and reducing hesitation during critical purchase decisions.
- Improved button styling increases visual prominence, guiding user attention to the primary action and supporting better engagement across product, category, and shop pages.
- Mobile-friendly button sizing and placement reduce tap errors and scrolling fatigue, which lowers drop-off rates and keeps buyers moving forward in the purchase flow.
- Consistent button behavior across pages builds trust, prevents confusion, and helps users navigate from product selection to checkout without unexpected interruptions.
When Add to Cart customization aligns with SEO and usability principles, it strengthens engagement signals and supports a smoother checkout experience that encourages users to complete purchases.
Frequently Asked Questions
After learning how to customize the Add to Cart button, many store owners still have a few practical questions. These FAQs cover common concerns that usually come up once the main setup and styling work is done.
How Do I Test Add to Cart Changes Without Affecting Live Customers?
You can test changes on a staging site or during low-traffic hours. Clear the cache after each update and check the results on the shop, category, and product pages. This helps avoid confusing real customers while testing.
Will Add to Cart Customization Affect My Theme Updates?
Most changes made through CSS, filters, or plugins remain safe during theme updates. Problems usually happen when editing theme files directly. Using a child theme or snippet plugin keeps updates worry-free.
Can I Use Different Button Text for Sales or Campaign Pages?
Yes, you can apply custom text based on product categories or page conditions. This works well for sales, bundles, or limited offers. It helps match button wording with campaign intent.
Does Customizing the Button Slow Down WooCommerce Performance?
Simple CSS and text filters have almost no impact on performance. Issues only arise with poorly coded plugins or heavy scripts. Keeping changes lightweight ensures your store stays fast.
Should I Customize Add to Cart Buttons Differently for Mobile Users?
Mobile users benefit from clearer text and larger buttons. You can adjust styles using responsive CSS or enable sticky buttons. This improves tap accuracy and keeps buying actions visible.
Concluding Words
Customizing the Add to Cart button is not just about design. It directly affects how quickly users understand what to do next and how confident they feel while buying. Small changes in button text, color, size, or placement can remove confusion and reduce hesitation at the most important moment.
If you are working on how to customize the WooCommerce add to cart button style and text, always start with clarity. Make sure the button clearly explains the action, looks easy to tap on mobile, and stays consistent across shop, category, and product pages. When the button matches the checkout flow, especially with one page checkout setups, users move forward without stopping to think.
In the end, a clear and well-styled Add to Cart button helps users act faster, trust the process, and complete purchases more smoothly. These simple improvements often lead to better clicks, better flow, and better results without changing your products or prices.